Dashboard Setup Guide
This guide walks you through the steps to create and configure a new dashboard within the QSC admin platform.
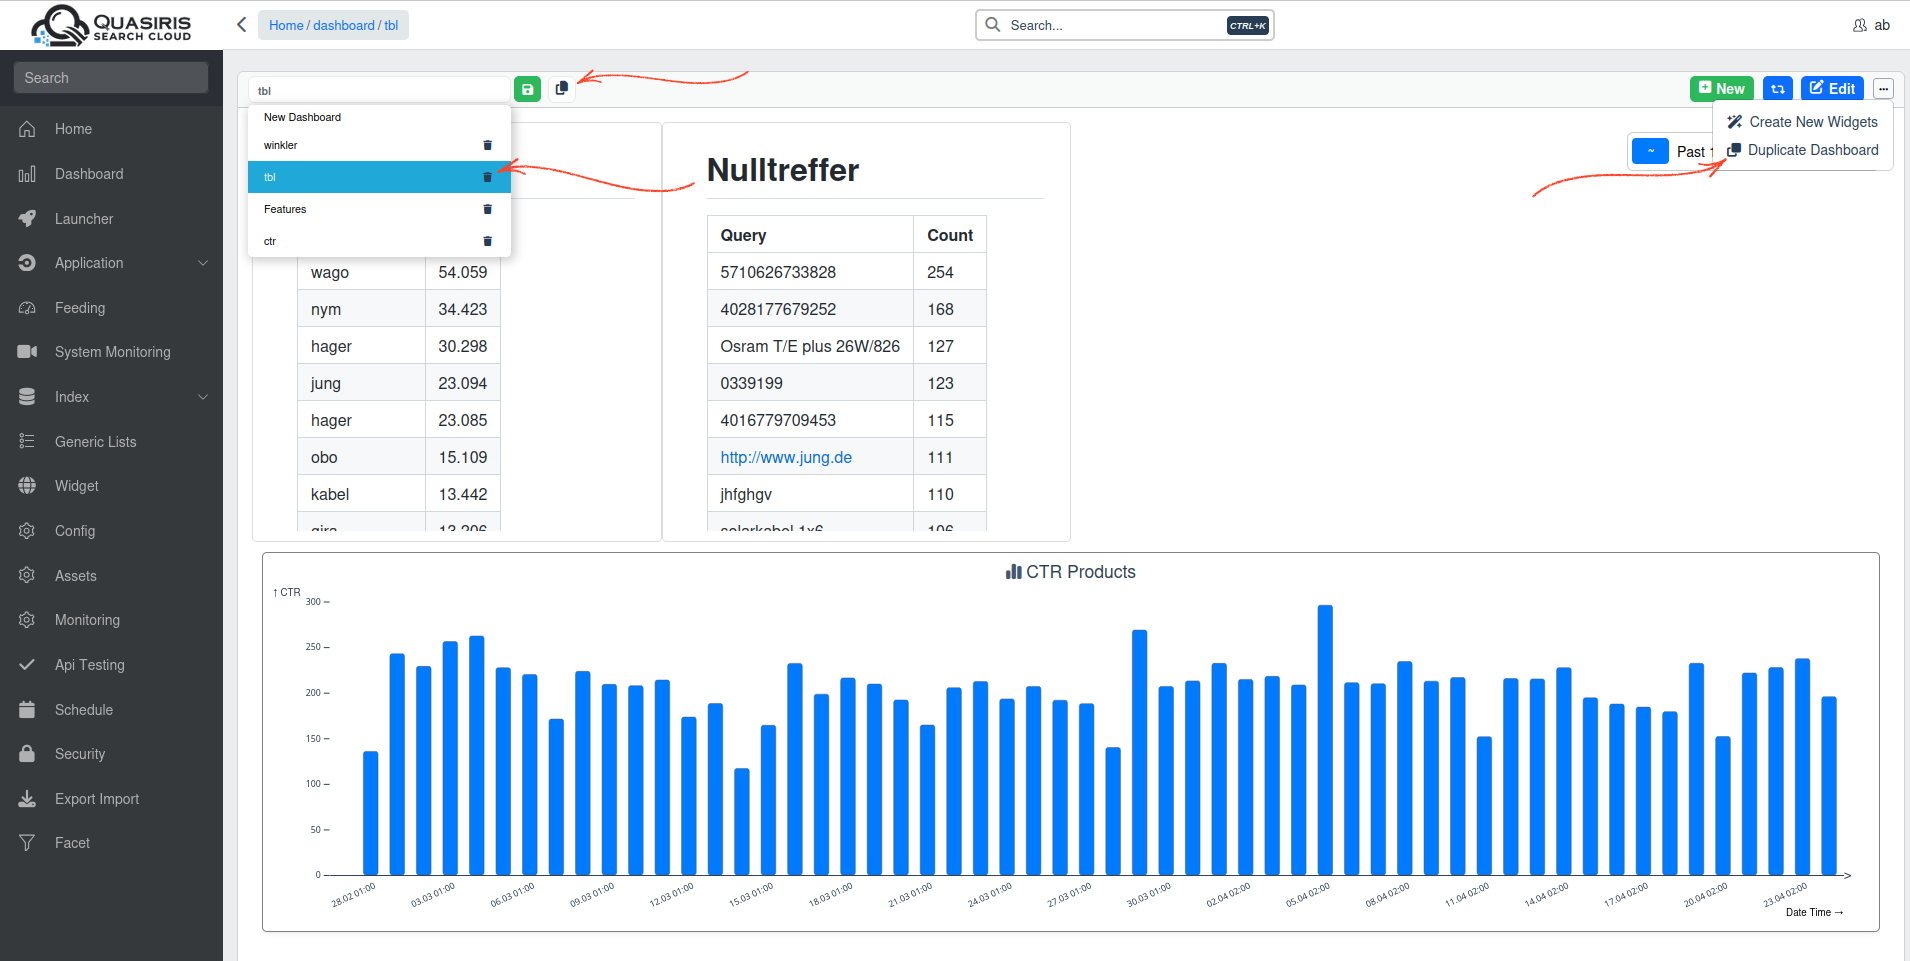
1. Create a New Dashboard
- Navigate to the Dashboard section from the sidebar menu.
- Click the New button to start a new workspace.

You’ll be prompted to:
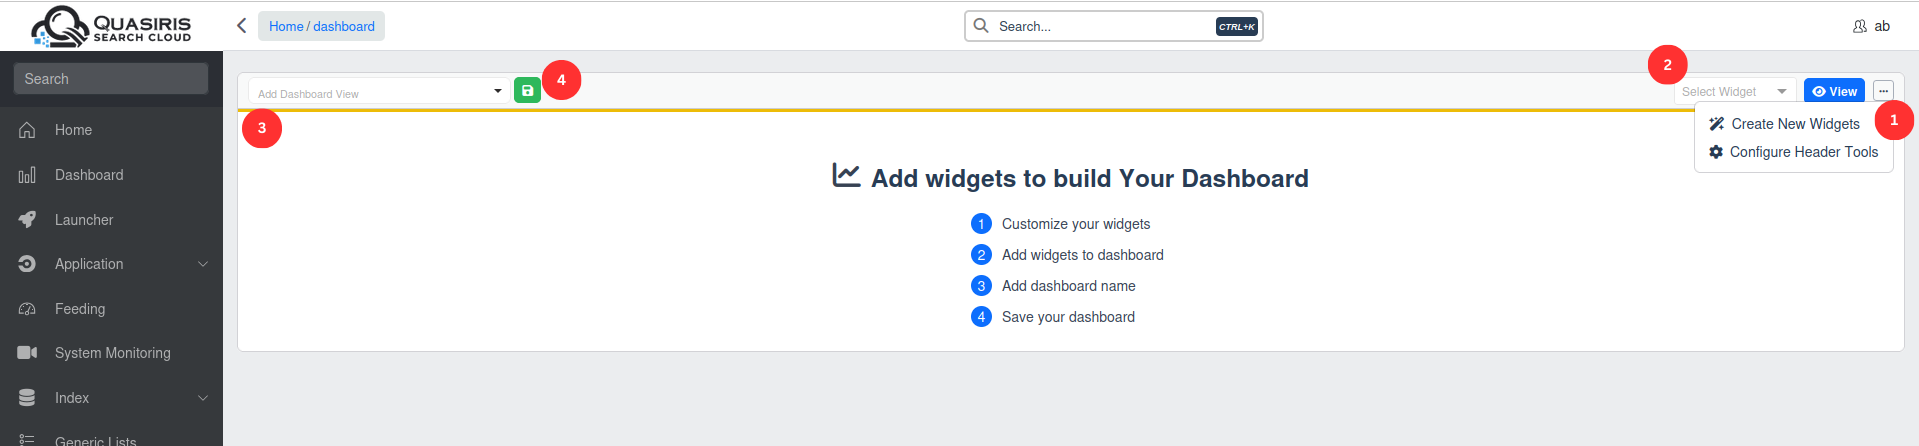
The new dashboard workspace will now be ready for customization.
2. Add Widgets
Once your dashboard workspace is ready:
- Configure the widget’s type, data source and appearance (to explore the different widget types available, see the Widget customization documentation).
- Choose the desired widget from the list (e.g.,chart, markdown, date picker, ...) to Add Widget to your dashboard.
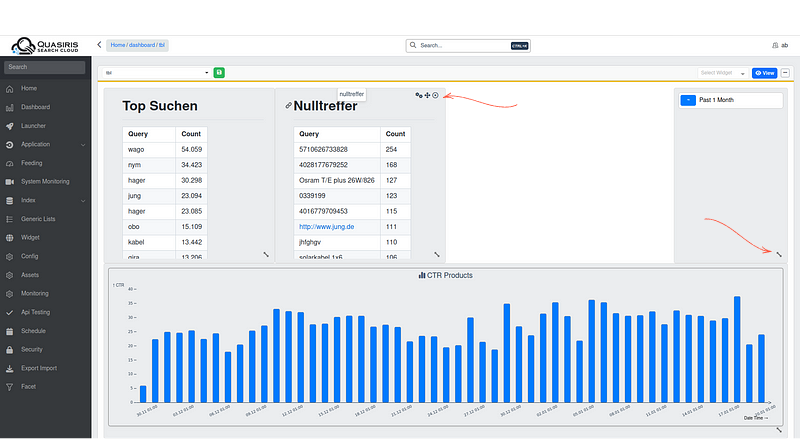
3. Arrange and Customize
- Drag and drop widgets to reposition them.
- Resize widgets using the corner handles.
- Use the settings icon on each widget to modify configuration or data bindings.
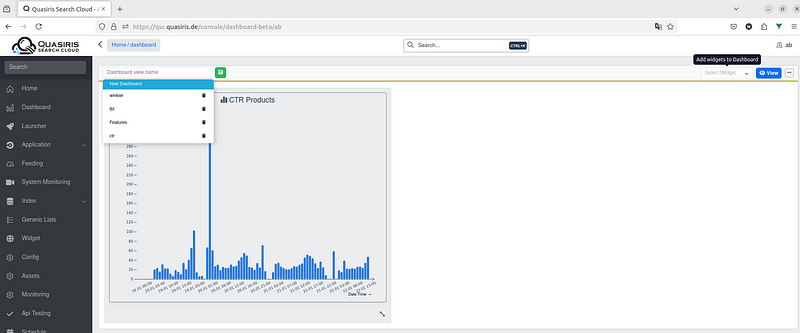
4. Save Your Configuration
After customization:
- Enter a Dashboard Name (e.g., "Search Analytics")
- Click Save button to persist your changes.
- All widget configurations and layout settings will be stored.
The new dashboard will now appear in your list.
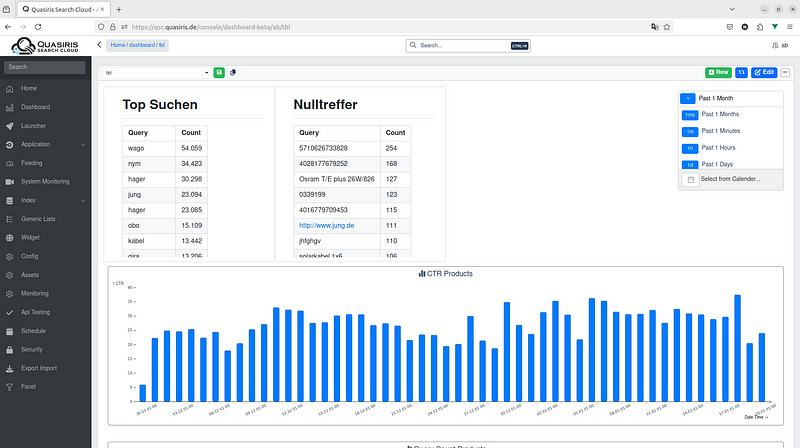
5. Additional Actions
- Duplicate a dashboard by using the “Duplicate” option in the dashboard menu.
- Share a dashboard by copying its URL.
- Delete unused dashboards to keep the workspace organized.
✅ Tip: You can edit dashboards at any time. All saved dashboards remain accessible from the main dashboard menu.